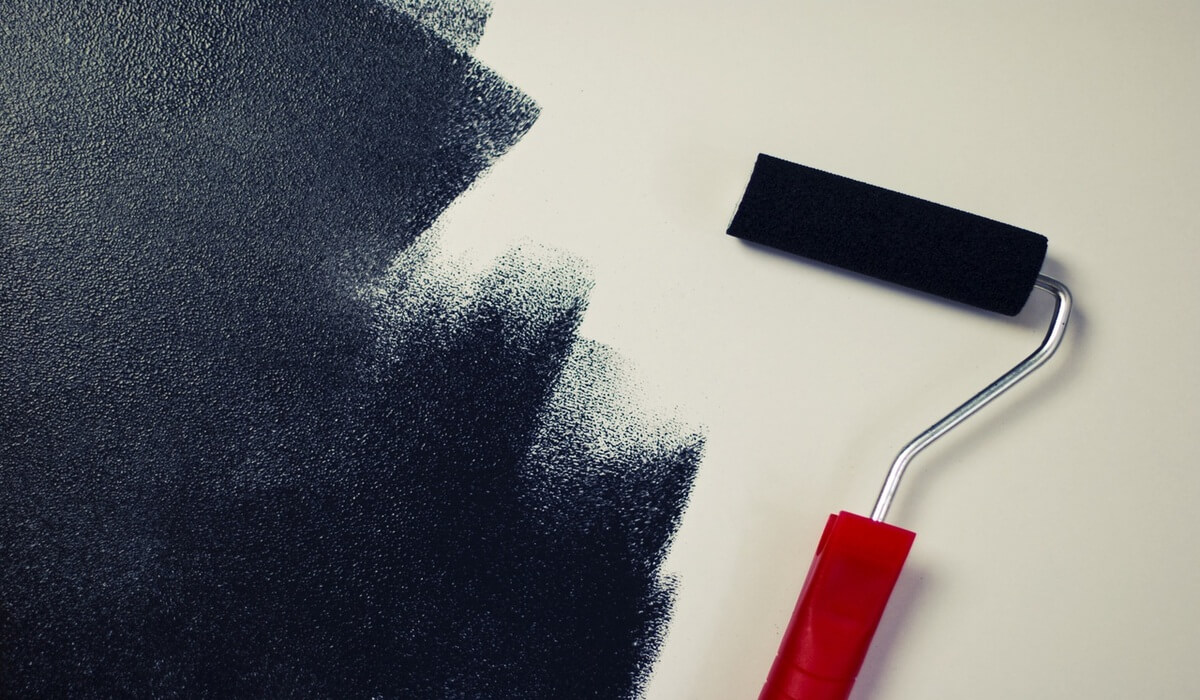
Achieving flawless walls with a professional finish requires more than just a can of paint and a roller. From selecting the right tools to mastering the correct techniques, each step in the painting process plays a crucial role in creating the perfect walls you desire. In this guide, we'll walk you through the essential painting roller tips that will transform your painting experience and leave your walls looking like a pro has touched them.
Right Tools
The foundation of any successful painting project lies in using the right tools. For example, professional house painters have all the right tools to paint the house. Before you even think about dipping that roller into the paint, ensure you have the following essentials:
- Roller Frame and Cover: Invest in a high-quality, sturdy, durable roller frame. Pair it with a suitable roller cover based on your painting surface. Different surfaces may require different nap lengths, so choose accordingly.
- Extension Pole: Protect yourself from stretching and bending by attaching an extension pole to your roller frame. This simple addition will make reaching high or wide areas easier, ensuring a more even coat.
- Paint Tray: Opt for a paint tray with compartments to hold the paint and make loading your roller more efficient. A tray with a liner makes cleanup a breeze.
- Painter's Tape and Drop Cloths: Prevent paint from straying onto unwanted surfaces by using painter's tape to mask edges and corners. Lay down drop cloths to protect your floors and furniture.
Quality Paints
The importance of using high-quality paint must be balanced. Invest in paints with excellent coverage and durability to ensure a long-lasting finish. Look for paints specifically designed for the surface you are painting, whether it's drywall, wood, or concrete.
Consider visiting your local paint store or consulting their online resources to understand the different finishes available, such as matte, satin, or gloss, and choose the one that suits your aesthetic preferences and the room's functionality.
Prepare the Surface
Preparation is critical to achieving a smooth and professional-looking result. Follow these steps to prepare your surfaces for painting:
- Clean the Walls: Wipe down walls to remove dust, dirt, and grease. For stubborn stains, consider washing the walls with a mild detergent solution.
- Patch and Repair: Inspect the walls for holes, cracks, or imperfections. Patch and repair these areas with a suitable filler and sand the surface until smooth.
- Sand the Surface: Use fine-grit sandpaper to lightly sand the entire surface. This creates a slightly textured surface that allows the paint to adhere better.
Prepare the Roller
Before diving into the paint, take the time to prepare your roller properly:
- Moisturize Natural Fiber Rollers: If you're using a natural fibre roller cover, it's a good idea to moisten it with water before use. This helps the fibres absorb the paint more evenly.
- Remove Excess Lint: New roller covers may shed fibres, leading to a less-than-perfect finish. Wrap masking tape around the roller cover to minimise lint and peel it off a few times.
Correct Techniques
Now that your tools and surfaces are ready let's explore the correct techniques for applying paint with a roller:
- Load the Roller: Dip the roller into the paint tray, ensuring it's evenly coated. Roll it back and forth to distribute the paint across the roller cover.
- Apply Paint in a "W" Pattern: Start by rolling the paint onto the wall in a "W" pattern. This technique ensures even coverage and minimises streaks. Roll vertically over the painted area once the "W" is filled in to smooth out the finish.
- Feather the Edges: To avoid lap marks, lightly feather the edges of each section while the paint is still wet. This blends the paint seamlessly and creates a professional finish.
Cutting In
The finishing touch to any painting project is cutting in – carefully painting along edges and corners. Here's how to master this technique:
- Use a Quality Brush: Invest in a high-quality angled brush for precision. Dip the brush into the paint and tap off excess to avoid drips.
- Start from the Top: Work your way from top to bottom, painting along the edges where the roller can't reach. Keep a damp cloth handy to wipe away any accidental smudges.
- Remove Painter's Tape Carefully: If you've used painter's tape, wait until the paint is dry before carefully removing it at a 45-degree angle to avoid peeling.
By following these painting roller tips, you'll be well on your way to achieving the perfect walls you've always envisioned. Remember, patience and attention to detail are your allies in creating a professional finish that will leave your space looking polished and inviting.


